|
4. The two pieces of
steel should have already been placed on the rotating table. Fire bricks are
used to raise both pieces slightly off the surface of the table so that heat
can flow all the way round it. Fire bricks should also be placed at the back
and sides of the metal so that heat does not escape and is reflected back. |
|

|
| |
|
|
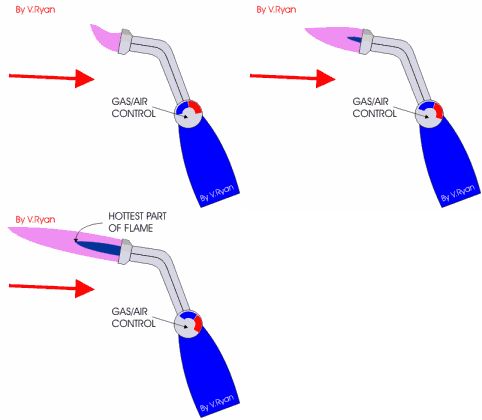
The steel is given a gentle overall heating first which
raises the temperature slowly. This allows the steel to expand slowly and
for the water in the flux to evaporate without moving the steel out of
position. The flame is moved around the joint fairly quickly throughout this
first stage of heating. |
| |
|
|

|
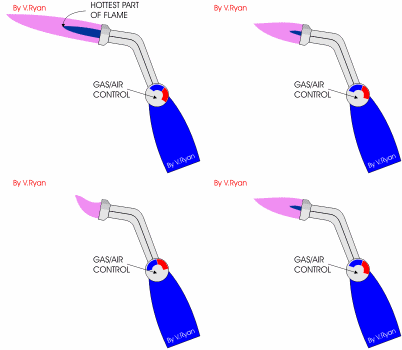
5. The flame is then
moved forward with the blue tip of the flame nearly touching the steel. The
focus of heat should now be on the joint, as the flame is slowly moved
backwards and forwards along it. The joint will eventually become so hot
that it becomes red in colour. |
| |
|
|

|
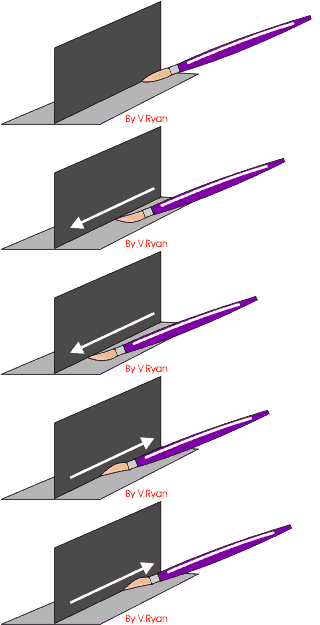
6. A brazing rod
(copper-zinc alloy) is then pushed gently against the joint and if the
temperature is right the end of the rod will melt and begin to run along the
joint. The rod is fed into the joint until a brazed joint is complete.
The steel is allowed to cool slowly. If cooled quickly, such as quenching in
water, the joint can crack or become distorted. |
| |
|
|

|
The diagram opposite shows how the copper-zinc alloy
(brazing rod) forms a joint between the two pieces of steel sheet. |
|
EXTRA SAFETY: Using a
brazing hearth and soldering/brazing is potentially dangerous as high
temperatures are reached. Serious burns can result if safety procedures are
ignored. Leather aprons and gloves will offer good protection if you
accidentally touch hot metal. Goggles are essential as ‘splashes’ of hot
flux or brazing rod (solder) could damage eyes permanently. Furthermore, if
there is a need to pick up materials that have been heated on the hearth,
always use steel tongs and place the hot material on a steel plate/block.
The steel block/plate will conduct the heat away from the material without
cooling it too quickly. |