
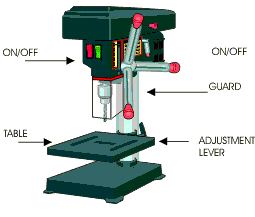
There are two types of machine drill, the bench drill and the pillar drill. The bench drill is normally bolted to a bench so that it cannot be pushed over and that larger pieces of material can be drilled safely.
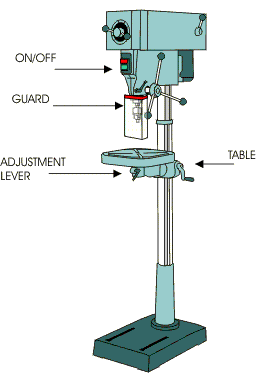
The larger version of the machine drill is called the pillar drill. This has a
long column which stands on the floor. This can do exactly the same work as the
bench drill but because of its larger size it is capable of being used to drill
larger pieces of materials and produce larger holes.
SAFETY
1. Always use the guard.
2. Wear goggles when drilling materials.
3. Clamp the materials down or use a machine vice.
4. Never hold materials by hand while drilling.
5. Always allow the ‘chippings’ to clear the drill by drilling a small amount at
a time.
Used for drilling holes. A normal drill set will include sizes from 1mm to 14mm.
Used for larger diameter holes. When using this bit the hole is drilled very slowly so that the bit does not 'jam' in the wood.

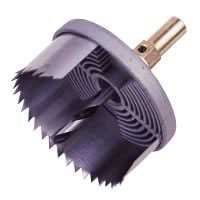
For large diameters a 'hole saw' can be used. The advantage of this type of drill bit is that the blade can be changed to give different sizes of diameter.
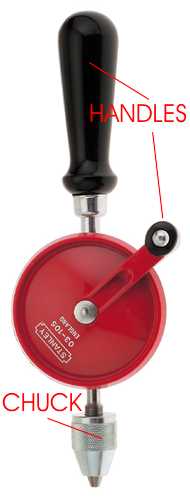
In the workshop you probably use a ‘hand drill’ and a ‘ratchet brace’ as part
of practical work. These are used for drilling a range of sizes of hole and they
are very useful especially if machine drills are not available. The hand drill
generally holds drill sizes from 1mm to 9mm whilst the brace will hold larger
drill bits called ‘forstner bits’ and ‘auger bits’. These larger bits can be
used to drill ‘blind holes’ (holes that do not go the entire way through
material).
When using these drills, always hold them so that they are vertical and turn the
handles in a clockwise direction. The common mistake is to turn the handles
anticlockwise as this makes it almost impossible to drill even the smallest
holes. Also, put scrap material underneath the material to be drilled so that
the bench is not damaged by the bit as it ‘bursts through the other side.

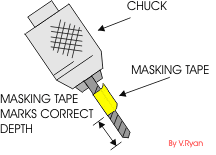
Tip : When drilling into a material to a certain depth wrap a piece of masking tape around the bit to mark the point at which drilling must stop
.
SAFETY
Hand drills must be used carefully - although they are manually operated they can still cause severe injury if misused.
1. Clamp down the work to be drilled.
2. Hold the brace or hand drill vertically.
3. Turn the handle clockwise
4. Place scrap material underneath the material to be drilled.
5. If you feel it is necessary - wear goggles.
6. Do not drill too quickly, take your time.
You've probably got one somewhere! You don't need an electric drill. Four drill bits are needed: 1.1mm, 1.5mm, 3mm, & 4.3mm.
A basic corded drill is shown below. Even basic drills are provided with accessories. For instance, corded drills usually have a front handle that can be fitted if required. It is strongly recommended that the front handle is fitted as it provides extra support an makes it more likely that the drill will be used safely. If both hands are holding the drill then it is impossible for the user to accidentally place his /her hand in the way of the drill whilst it is in use.
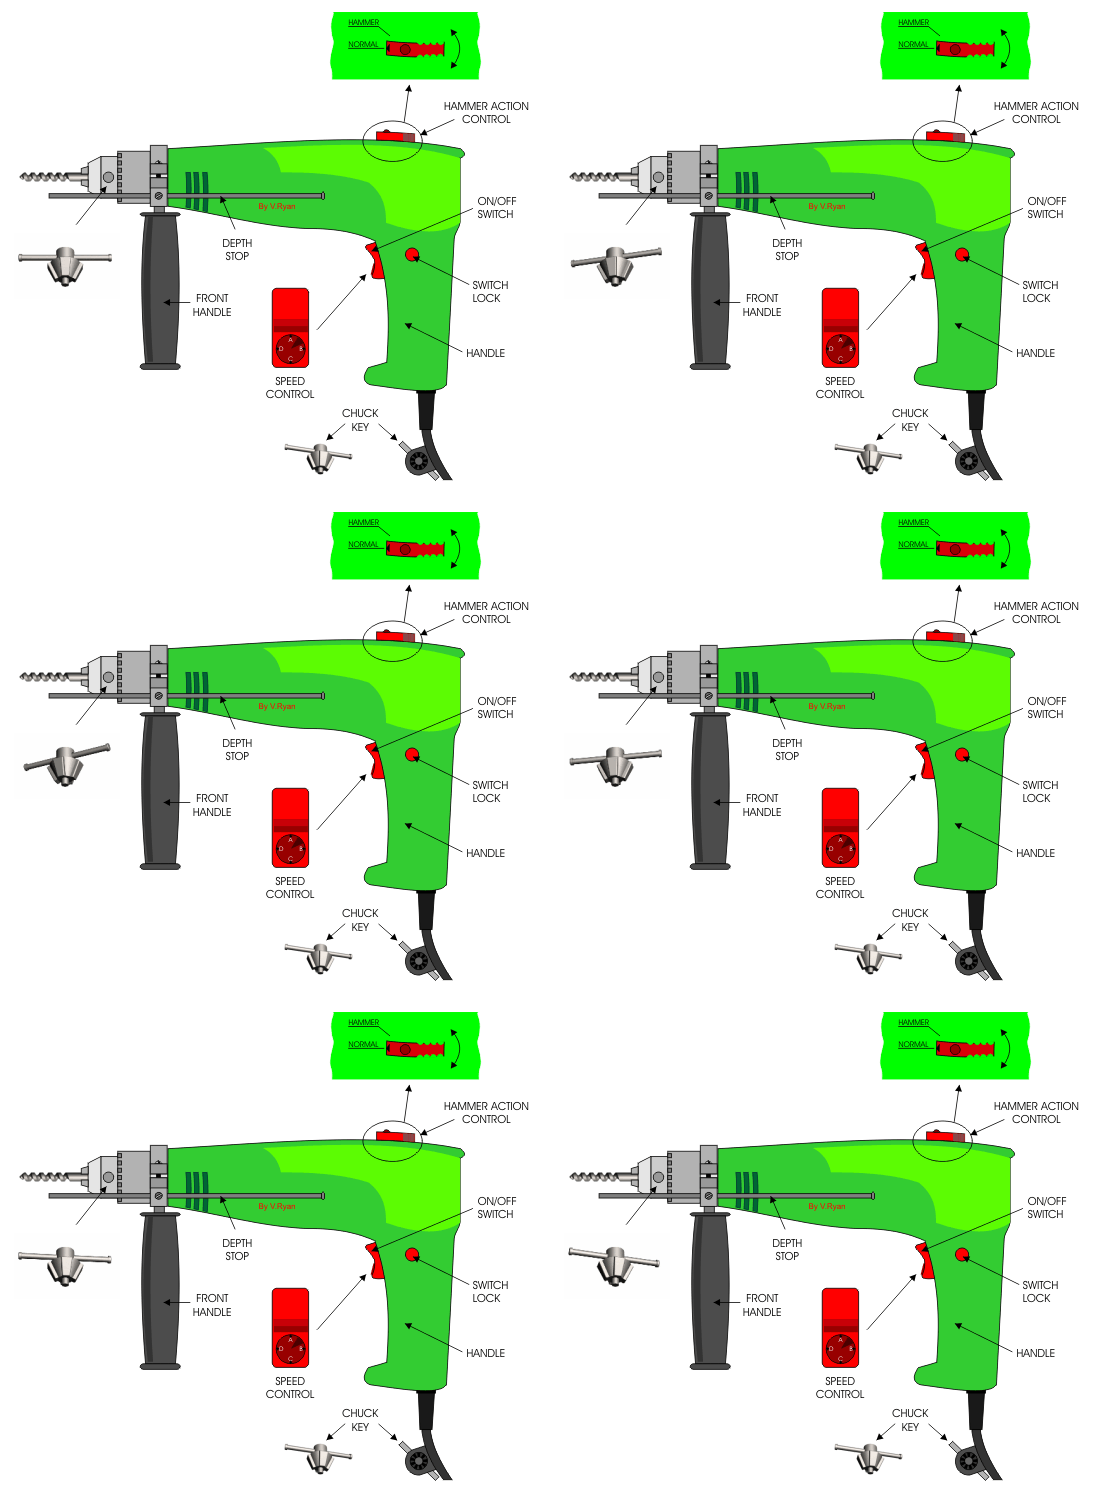
The drill speed (rpm, revolutions per minute) can be changed according to the material being drilled. On the example shown above the speed is changed by turning the dial on the on/off switch. This will vary depending on the model of drill being used.
Most corded drills will have at least two basic settings - normal and hammer. This allows the drill to be used on a range of materials such as natural woods, manmade boards, metals, masonry, brick and stone.
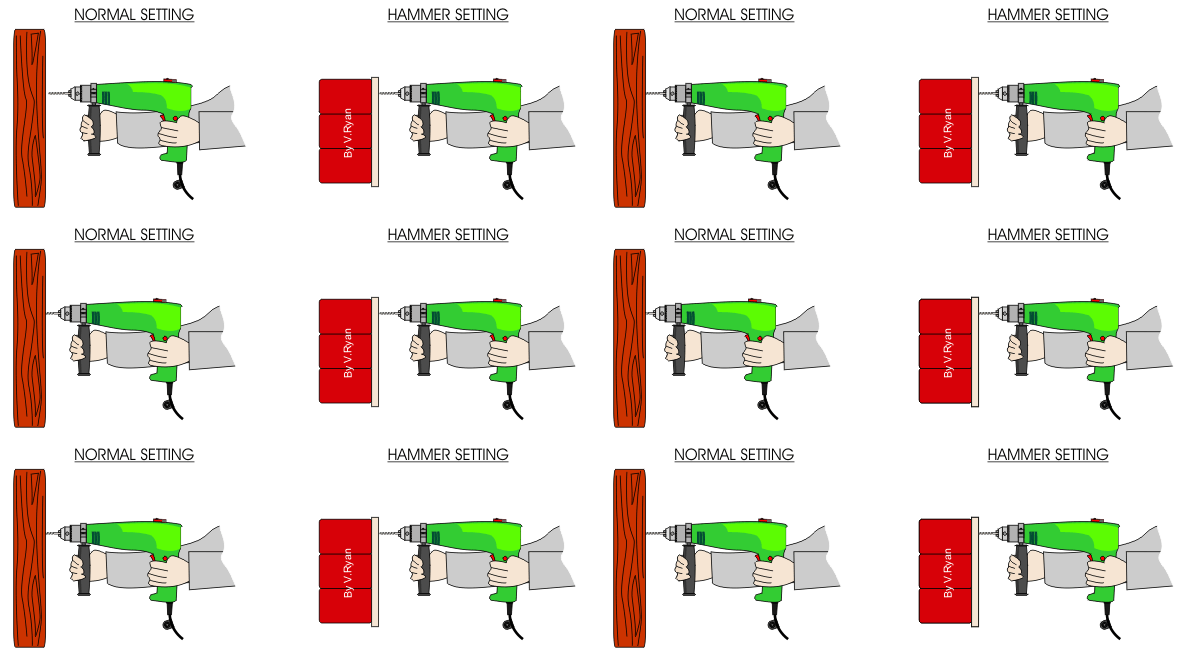
When drilling materials such as natural woods and manmade boards the ‘normal’ setting is correct. When this setting is used the drill bit rotates in a clockwise direction cutting into the wood. Metals are drilled with the same setting.
When drilling materials such as masonry and brick the ‘hammer’ setting is correct. When this setting is used the drill bit rotates in a clockwise direction but is also driven backwards and forward into the material at great speed. The drill vibrates as it is ‘hammered’ through the material.
TIP: When drilling a difficult material such as stone. Fit a masonry drill bit and start drilling on a normal setting. Once a small hole has been started, switch to the ‘hammer’ setting. If the ‘hammer’ setting is used right at the beginning, the drill bit can slip as it vibrates at high speed.
BASIC ACCESSORIES AND DRILL BITS
V. Ryan © 2006
DRILL STANDS
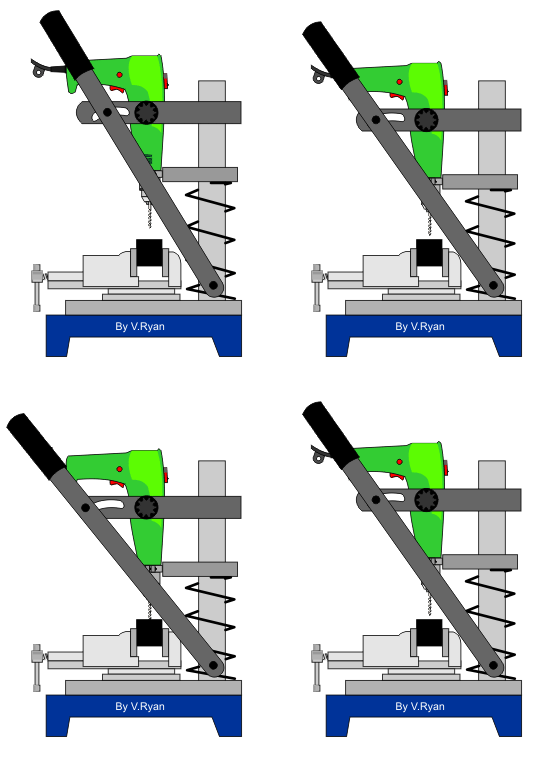
Accessories such as rill stands can be used to clamp a drill in position so that it can be used like a machine drill. Stands such as these are fine for light work but for heavier work it is recommended that a Machine Drill / Bench Drill is used. A drill stand is normally used when storage space is limited. However, if there is enough bench top room buy a bench drill as it is safer and it can be used for a wider variety of drilling. Drill stands are usually supplied without guards or machine vices. This inevitably means that they are not as safe.
COMMON DRILL BITS
Good quality drill bits are manufactured from High Speed Steel (HSS). This type of steel keeps its sharp edge for along time and is capable of cutting through extremely resistant materials. Do not buy cheap carbon steel bits as they are a false economy. They will wear quickly an will not cut through resistant materials
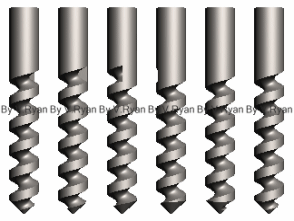
Twist drills come a range
of sizes. the more common sets of twist drill range from 1mm to 10mm in
diameter. When drilling the larger diameters it is wise to drill a smaller
‘pilot’ hole first and then increase the diameter of the hole by drilling with a
larger size.
When drilling metals, use a lubricant such as oil. This will cool the drill bit
as it cuts and lubricate the surface of the drill bit against the surface of the
material being cut.
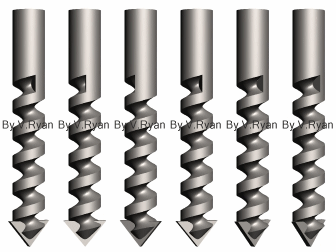
Masonry bits are very similar to normal twist drills. However, tip is usually made from carbide steel. This is extremely tough and keeps its sharp edge even when drilling stone and brick. From time to time the tip will need grinding in order to re-sharpen the cutting edge.
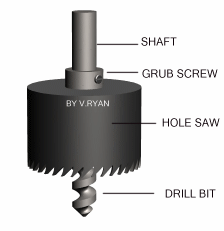
Hole Saws are used to
drill large diameter holes, usually through thin wood boards. When drilling it
is important to withdraw the saw/drill regularly to allow all the waste
wood/chippings to escape from the hole. If this is not done the saw tends to
‘jam’. This can be dangerous.
Hole saws are provided with a range of sizes of saws. The saw can be changed
easily. The grub screw holds the saw firmly against the shaft of the drill bit
so that it revolves at the same speed.
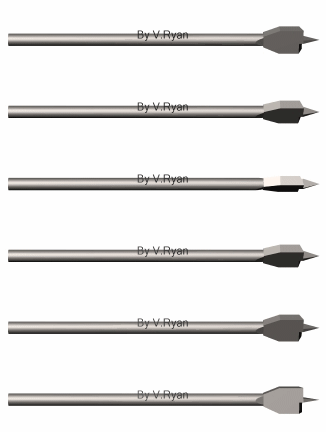
Flat Bits are use to drill fairly large holes in wood boards and sections. They can be purchased in a range of sizes.
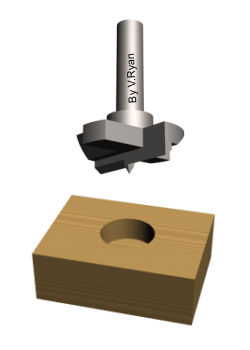
A Plug Cutter is useful for cutting reasonably large holes through wood based materials. The wood collects inside the cylinder and can be removed quite easily, giving a disc of material.

A Forsner Bit is used to cut ‘blind’ holes in wood based materials. A blind hole is one that does not go all the way through the material being drilled.
Cordless Drills are extremely popular because they are
portable and yet powerful. A rechargeable battery (usually 12v to 18v) supplies
the power and lasts for several hours before recharging is necessary. They are
safer than corded drills because there is no cord to trip over and the voltage
required is quite low compared to the 220v - 240v needed for corded drills.
However, all the usual safety measures should be taken when using any drill.
Although using a drill when working up a ladder should be avoided where
possible, if this has to be attempted - use a cordless drill as they are lighter
and do not have a trailing mains lead. Most cordless drills are powerful enough
to drill even tough materials like stone and masonry.
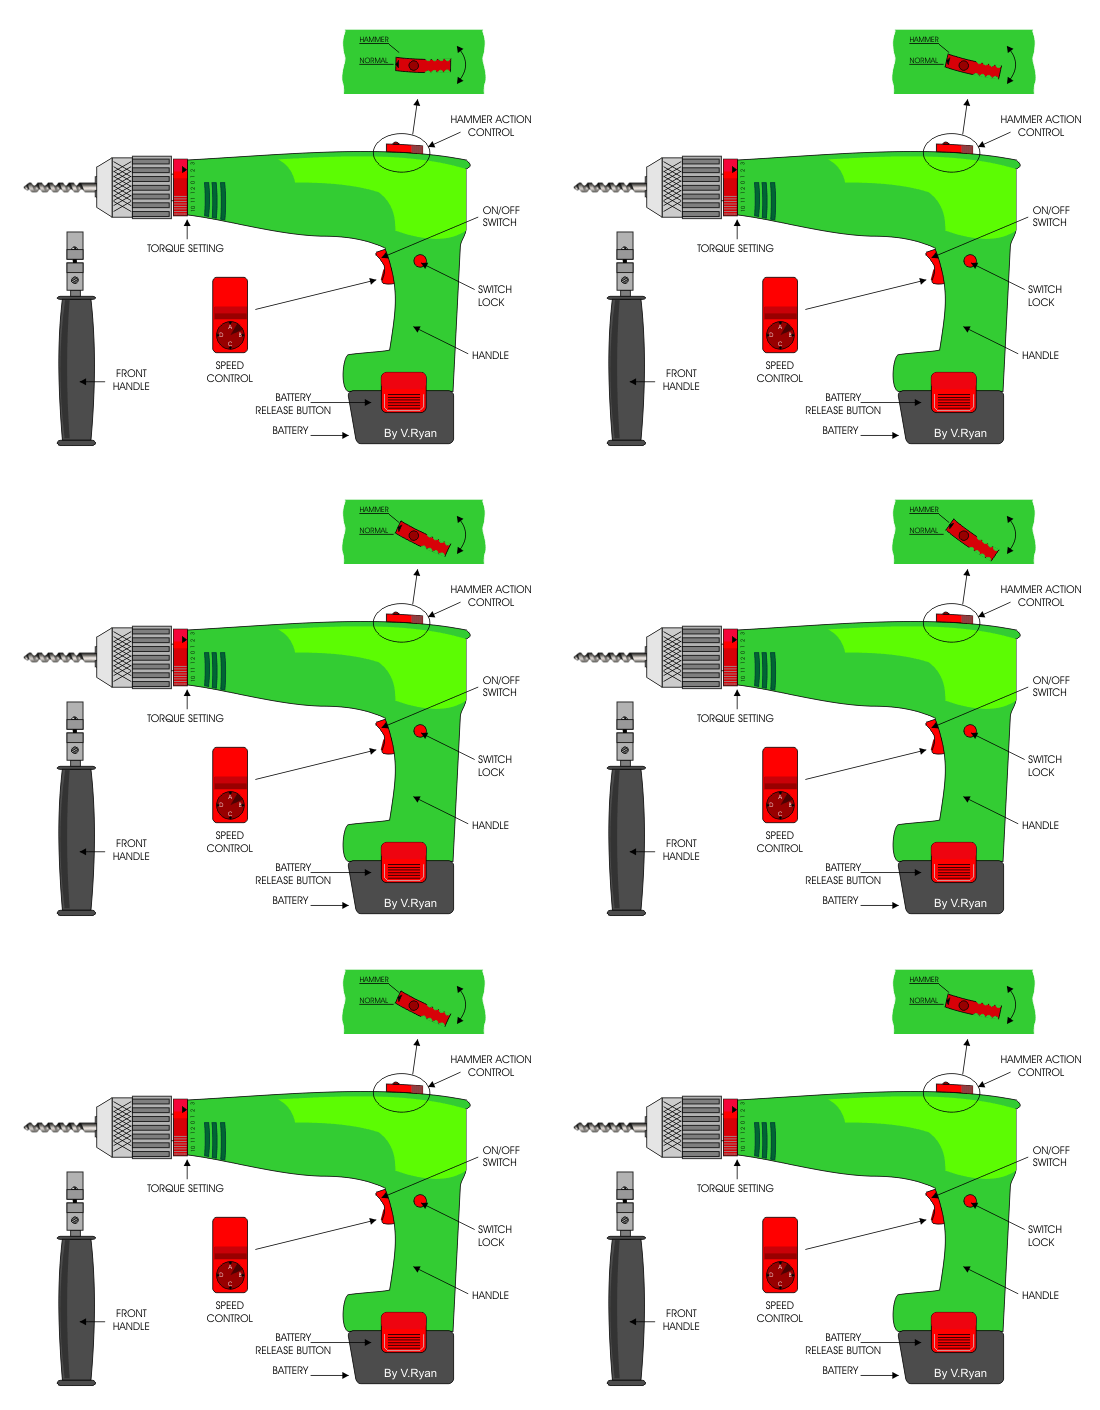
A basic cordless drill is shown below. Even basic drills are provided with accessories. A rechargeable battery and charger are also included. The battery will need recharging every 1 to 2 hours of continuous use. Cordless drills usually have a front handle that can be fitted if required. It is strongly recommended that the front handle is fitted as it provides extra support and makes it more likely that the drill will be used safely. If both hands are holding the drill then it is impossible for the user to accidentally place his /her hand in the way of the drill whilst it is in use.
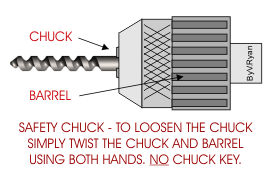
Safety / self-locking chucks are very common. These do not need a chuck key and are used by simply turning the chuck and the barrel by hand, in opposite directions. The drill bit locks in position.
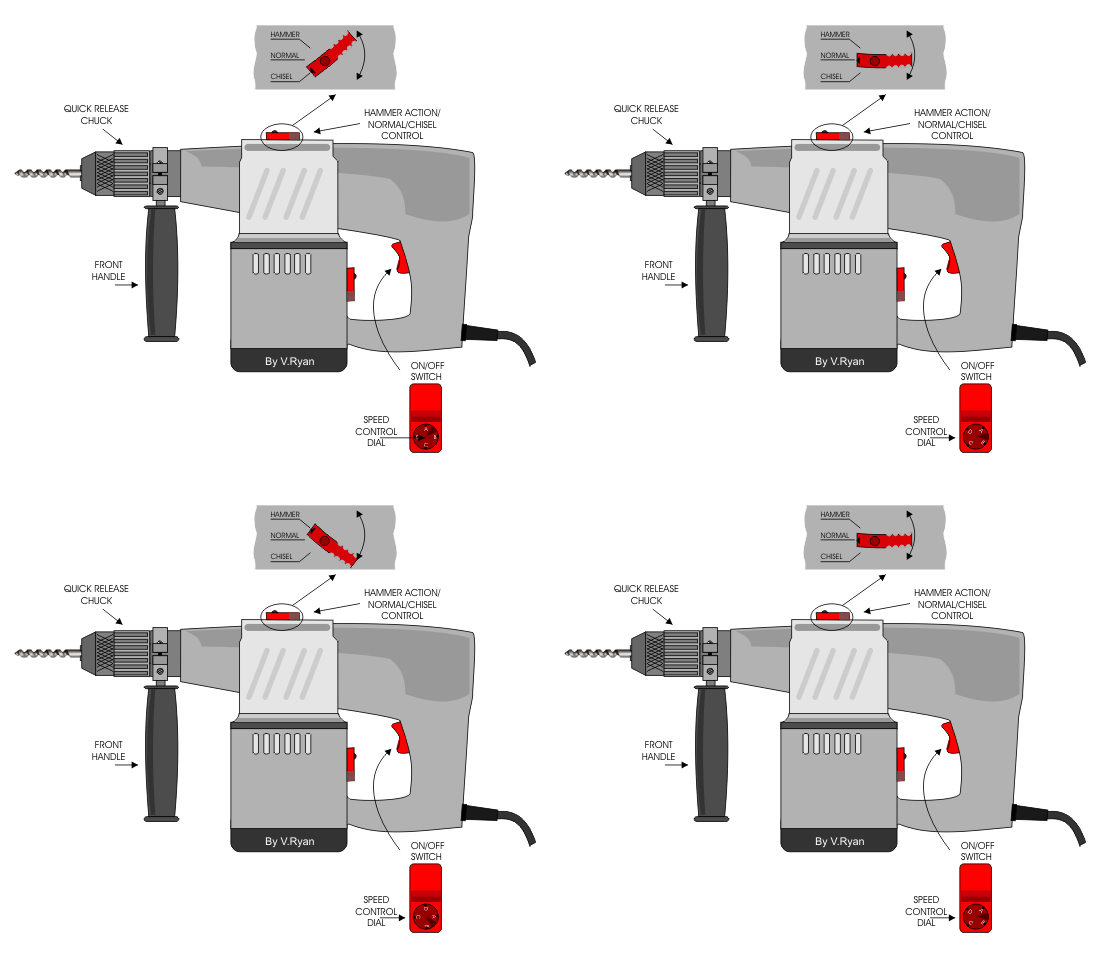
A basic SDS Drill is shown below. Even basic drills are provided with necessary fitments such as a front handle. It is strongly recommended that the front handle is always fitted before use . SDS Drills should not be used in one hand, it should be firmly supported by both hands in order to take the weight. Adjustments to speed can be made by the speed control dial whilst ‘hammer’, ‘normal’ or ‘chisel action’ can be selected by altering the position of the lever at the top of the drill.
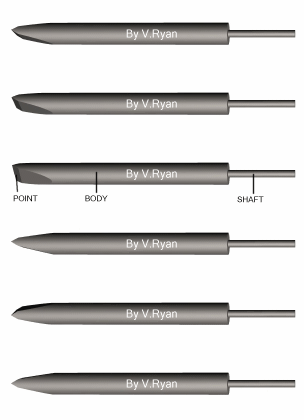
TYPICAL SDS DRILL CHISEL
A range of chisels are supplied for SDS Drills. A typical chisel is shown opposite. The shaft is the part that locks into the chuck of the drill. The chisel point is ‘ground’ to a suitable angle (normally 60 degrees). This type of chisel could be used to ‘chip’ away concrete or stone.
SDS (Special Direct System) Drills are extremely powerful and
used when extra power is required, for heavy duty jobs. They have three basic
functions that allow normal drilling, hammer action and chiselling. Furthermore,
SDS Drills can hold large diameter drill bits well passed the 13mm diameter
limit of normal drills. Professionals tend to select this type of drill for
major projects.
However, SDS Drills tend to by heavy compared to ordinary drills which means
they are unsuitable when working up a ladder or for small jobs such as light
drilling - when a small power drill would be suffice.
Everyone has used a manual screw driver to turn a screw that
refuses to move or one that is very difficult to turn. The result is a sore or
blistered hand. Power screwdrivers are the answer especially if a large number
of screws need to be fixed in position.
A large range of power screwdrivers exist and even the cheapest types are often
very powerful and most are supplied with a range of attachments. As a minimum a
battery charger and a number of screwdriver blades will be part of the overall
kit.
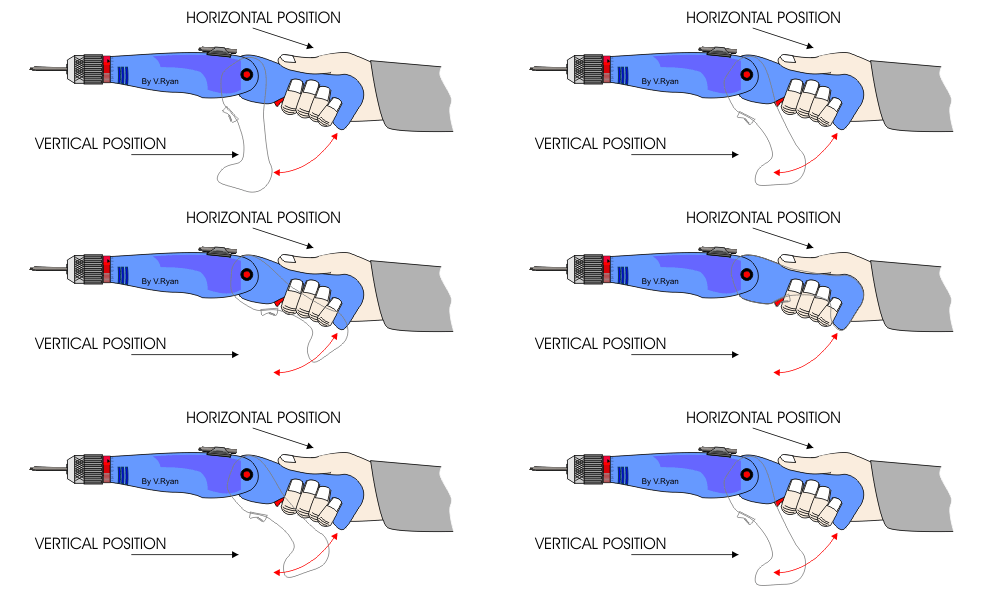
Depending on the model and make of power screwdriver, the handle will have two positions. The handle can be locked in a level position as shown in the diagram above OR it can be locked into a vertical position.
Power Screwdrivers are usually variable speed and torque. The
example below has a speed control disc on the ON/OFF button. Pressing the top of
the ON/OFF button turns the chuck and screwdriver blade in a clockwise
direction. Alternatively, pressing the bottom of the ON/OFF button turns the
chuck in an anti-clockwise direction.
Torque is often misunderstood. Torque is the amount of power supplied to the
chuck. For example. The speed (RPM) may be quite low and the chuck turns slowly
- However - the torque may be high and the chuck turns powerfully and powers
screws into the most resistant of materials. The torque setting can be adjusted
by turning a dial (shown on the diagram below). Sometimes the setting will be
set quite low. This helps prevent over tightening of a screw.
